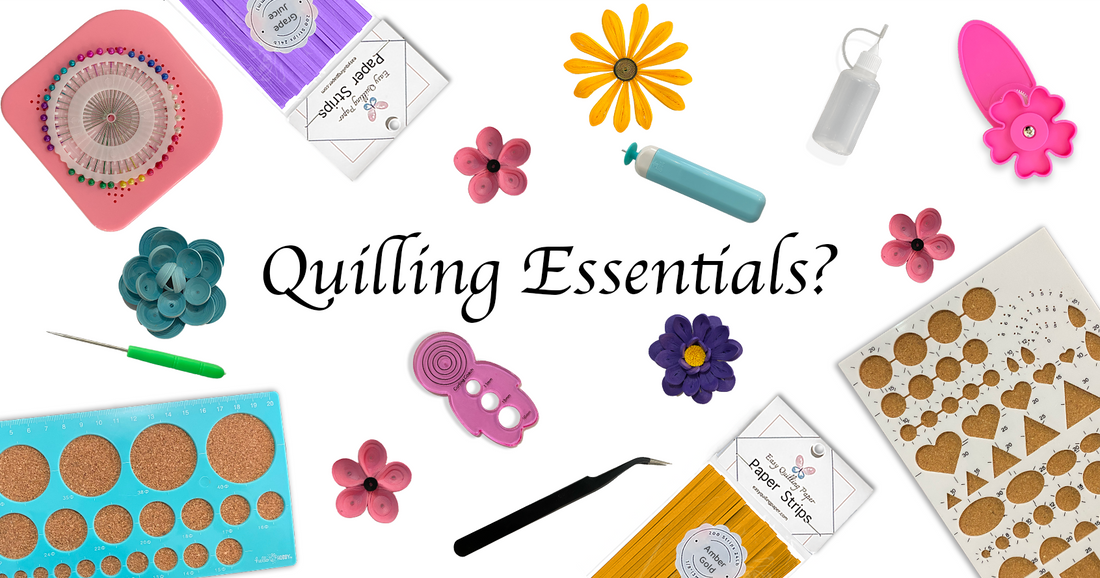
If you’re looking for the perfect starter quilling kit or want to know what tools you actually need to get started quilling, you technically only need quilling paper strips and a slotted tool, either electric or manual. Just roll, glue (keep reading for more on glue!), and shape, then arrange shapes to make a picture. This is not to discourage you from buying a kit. Just know that you don't need tons of fancy tools to enjoy quilling and the tools you actually need depends on your goals/preferences. If you want your shapes to be uniform in size, you can use a circle template ruler. Curved precision tweezers help you manipulate the strips or tiny shapes when glueing and arranging them. A precision tip glue bottle allows you to place small beads of glue. A curling coach helps with making large coils. A silicone brush allows you to remove excess glue and the ball point is used for embossing so that you can trace a template outline without using pencil/pen or anything that will be visible behind the quilled art. Things like quilling combs, crimpers, husking boards, quilling shape towers, and dome molds are all to manipulate the strips for a desired effect. If you are wondering what any of these tools are or how they are used, you can click on their names to see them in our shop where we have short video showing how they are used. Click here to view all tools.
Back to glue! Regular school glue will do just fine to glue your strips together. We like E-6000 for glueing quilled art to acrylic or glass. There are many glues that will work for both/either so you could experiment to find one you like best.
Our goal is to make quilling easy and fun but let us know if we missed something important here
Learn to make these 36 basic shapes with minimal tools here

read more about quilling strips widths and weights here

Join our wonderful community in our Facebook group, follow us on Facebook and Instagram, or learn from our tutorials over on Youtube.
Happy quilling! 😊